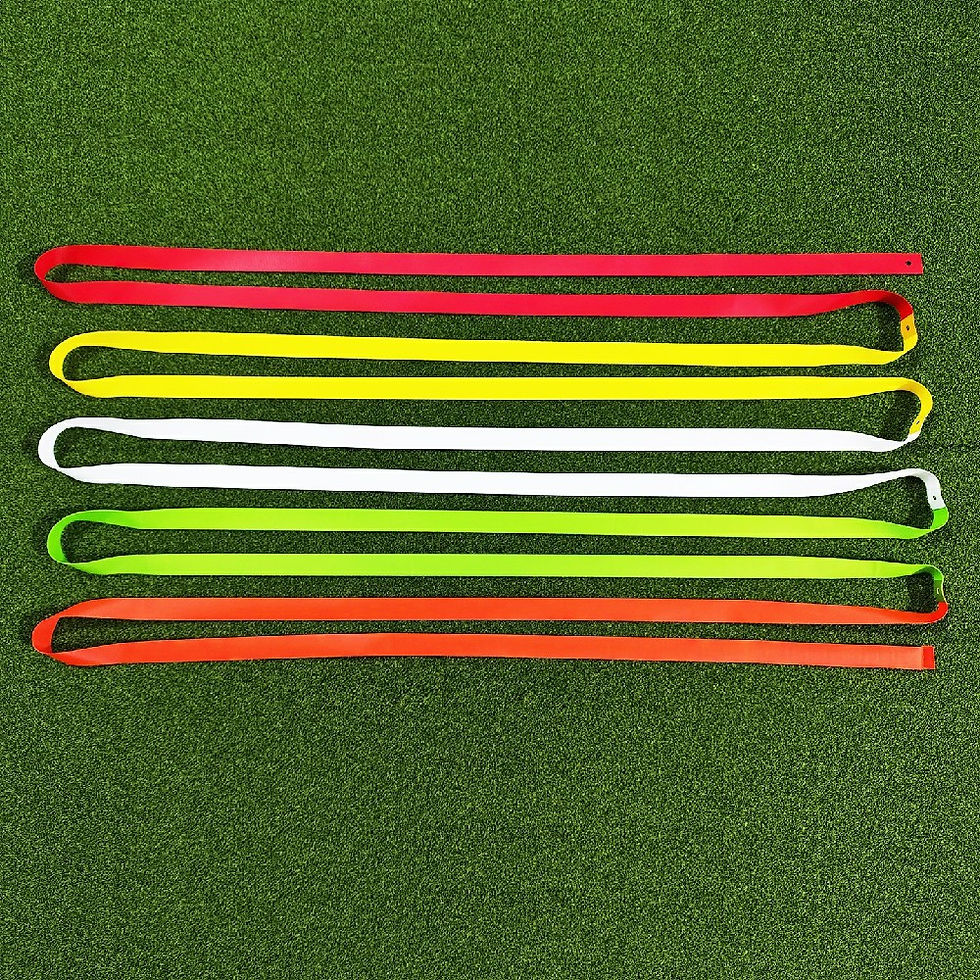
SwingPerfect Golf 3-Piece Red Aluminum Golf Alignment Stick.
Last time your coach stood behind you at the range, watched one swing, and said "your alignment is off," while you stared at your own feet and genuinely could not see what he was seeing. Or the more annoying version: you were certain the putter face was dead square, and the ball still slid past the low side of the cup for the third time that round. Your hands were probably fine. What was missing is a frame of reference. When you stand beside a golf ball and look down, your eyes work from a tilted angle that is naturally bad at judging what is truly parallel. Without an absolutely straight object to measure against, you have no reliable way to confirm that your feet are square, your face is square, or the clubhead is even traveling where you think it is. That is why virtually every teaching professional carries this exact tool: a 3-piece red aluminum alignment stick.
Laid across the ground in front of your toes at 124cm, it makes an uneven stance obvious in one glance. Two of them set in parallel make the classic putting gate, and the moment your putter clips a rod, you learn more than any verbal correction could teach. Its 8mm shaft is thin enough that your sight line passes almost unobstructed, so you see the line itself rather than a vague band of color. The anodized matte red finish stands out sharply against turf without throwing glare in low sun. The genuinely satisfying part is the takedown design. Three sections, each under 44cm, twist apart and disappear into a golf bag pocket, a car trunk, or a suitcase, which means a hotel room carpet and ten minutes of putting practice are always an option. One rod works. Two work better.
Stop aiming by feel. Let the red line tell you the truth.
Three sections packed, one rod becomes a gate: your carry-anywhere tour reference.
8mm thin, 124cm true: a line you can see, and accuracy you can build.
124cm Standard Length with an 8mm Ultra-Slim Shaft. Long enough to span your full stance and the target line, thin enough that your sight line passes essentially clear, so the reference sits exactly where you need to see it.
Three-Piece Threaded Takedown, Packs to 44cm. Twist apart and store in a golf bag pocket, trunk, or suitcase. Travel, commute, and hotel-room practice stop being a logistical problem.
Anodized Matte Red Aluminum, Straight and Durable. High flexural stiffness resists bending, and the finish will not fade or rust. It stays straight through repeated insertion, foot traffic, and bag compression, so the datum never lies.
Silicone Point and Rounded Rubber Cap That Respect the Green. The conical silicone tip presses in firmly without tearing roots, and the rounded cap protects turf when laid flat and prevents scratches in storage. No sharp edges anywhere.
One Rod for Stance, Two for the Gate, Both Games Covered. Lay it across to check stance width and foot line, set two in parallel to verify putter face and path, or angle them to guide swing plane. Three training jobs, one tool.
HOW TO USE
Step 1: Assemble the Three Sections. Identify sections by length (44cm with the silicone tip, 40cm middle section, 42.5cm with the rubber cap end) and thread them together by hand until snug, with no tools required. Roll the assembled rod on a flat surface to confirm it is straight.
Step 2: Set the Stance and Ball Position Frame. Lay one rod laterally 5 to 10cm in front of your toes, or directly along your heel line. Keep both feet parallel to the shaft and check the angle between foot line and rod to confirm squareness. Then lay a second rod lengthwise along the target line beside the ball to confirm ball position relative to the center of your stance: centered for mid-irons, slightly forward for long irons, slightly back for wedges.
Step 3: Build the Putting Gate. On the green, place two rods in parallel lengthwise with a gap 12 to 15cm apart, slightly wider than your putter head, with the ball centered between them and the shafts aimed at the cup. At address, use the two red lines as channel boundaries and confirm the face is square to the channel.
Step 4: Stroke Through the Gate and Self-Diagnose. Stroke the putt smoothly and watch whether the head touches either rod. Touching the outer rod means an outside path with an open face, so tighten forearm rotation. Touching the inner rod means an inside path with a closed face, so relax the hands. A clean pass with the ball rolling straight down the channel means both face and path are correct. Complete 10 to 15 clean passes before increasing distance.
Step 5: Takedown, Storage and Transfer. Twist apart the three sections and store them in the supplied tube or a golf bag travel pocket. Extend to full swing work by laying one rod lengthwise ahead of the ball as a start-direction reference, or angle two rods to check swing plane for an inside-out or outside-in path. The same ground datum works on indoor simulator mats and putting carpets.